Hauppauge Capture for USB-Live2
Hauppauge Capture
Hauppauge Capture version 42316
Date: Nov. 15, 2024 | Size: 86 MB
Release notes |
Backup download site |
Previous version 38344
To install
- Plug your Hauppauge product into your PC or power cycle your Hauppauge product ( if this is an upgrade to an existing version of Hauppauge Capture)
- Click the download button above and 'Save' Hauppauge Capture to your PC (do not select 'Run')
- Once Hauppauge Capture is downloaded, run the Hauppauge Capture installation from your 'Download' folder
- If you see the message "Windows Protected Your PC, Windows Smartscreen prevented an unrecognized app ...", click 'More info' and 'Run anyway'. Windows Smartscreen is a new 'feature' in Windows 10 to prevent new updates from being installed automatically.
- After installation, you will be asked to reboot your PC. Please reboot.
- While rebooting your PC, if you have an HD PVR 2 or HD PVR Pro 60, power cycle by removing the power plug or USB cable from the back of the device for a few seconds and then plug it back in. This resets the device.
- Once your PC is rebooted, you will see the Hauppauge Capture icon on your Windows desktop. Run it.
Hauppauge Capture supports the following products:
- HD PVR Pro 60
- HD PVR 2 (all models)
- Colossus 2 and Colossus
- HD PVR Rocket
- USB-Live2
- StreamEez-Pro
- ImpactVCB-e and ImpactVCB
- HD PVR 60
- HD PVR model 1212
- Note: if you have the Colossus 2, HD PVR 2 model 1512 or the HD PVR 2 GE+, if you have 5.1 channel AC3 audio from HDMI or optical audio, your recordings will have 5.1 channel AC-3 audio
Latest WinTV application
Click the below link to get the latest WinTV application and TV tuner driver download package
![]() Latest WinTV installer Package
Latest WinTV installer Package
For Windows 8, 7, and Windows 10
Windows Driver
To install the latest driver:
Leave your USB-Live2 plugged into your PC. Follow the following steps:
- Download the Driver10 update
- Run the EXE file.
- This will install the USB-Live2 base driver. At the completion of the driver install you should see a message which says Drivers have been updated successfully.
Third Party Applications
Adobe Flash Media Encoder Live
Stream your live video, video + screen, or screen-only along with your audio to viewers via the public Internet.
USB-Live2 Frequently Asked Questions
Which application should I use, Hauppauge Capture or WinTV?
Most people will find Hauppauge Capture easier to use for recording from home video tapes. With Hauppauge Capture, you can quickly record and playback your video recordings.
WinTV is good if you need to have scheduled recording. Like all WinTV scheduled recordings, you can set a time to start and a length of the recording. WinTV is also better to use if you simply want to watch live video. WinTV has the ability to have a small video window 'always on top' of your Windows screen. In addition, for industrial uses, there is the WinTV SDK which would allow you to write a custom Windows application using live video coming from the USB-Live2.
Hauppauge Capture can only have video in the Hauppauge Capture screen or full screen and there is no 'always on top' mode. Because of this, Hauppauge Capture is not as suitable for video monitoring as WinTV is.
Which should I use, S-Video or composite video?
S-Video has twice the video 'bandwidth' as does composite video (the yellow RCA connector commonly found on the back of VCR's, cable TV boxes and video cameras). Therefore, for best video quality, use S-Video if available.
The only problem with S-Video is that many video sources, such as cable TV boxes, have composite video but not S-Video.
Can I capture video with Adobe Flash Media Encoder Live?
Yes. Please see the following pictures to set the input source on the USB-Live2. Also, the audio needs to be routed from your microphone or other audio source to the "Line in" jack on your PC.
Currently, while you can bring video from USB-Live-2 into the Media Live Encoder, audio from USB-Live-2 is not supported.
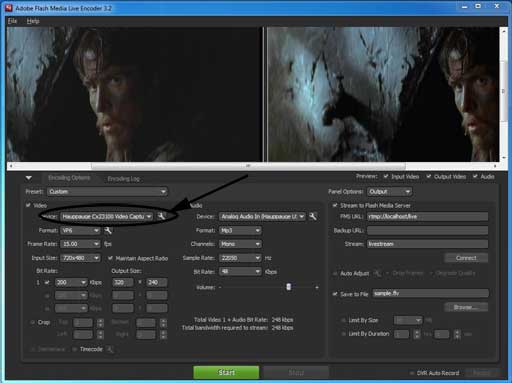
This is the Adobe Flash Live Media Encoder main menu
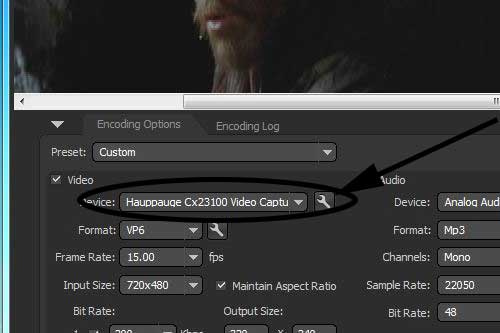
Click the "wrench" icon next to the Hauppauge device.
Then click the tab marked "Crossbar" and click "Input". You will see a list of video input sources which USB-Live-2 has. Set the input source to the one you want to use.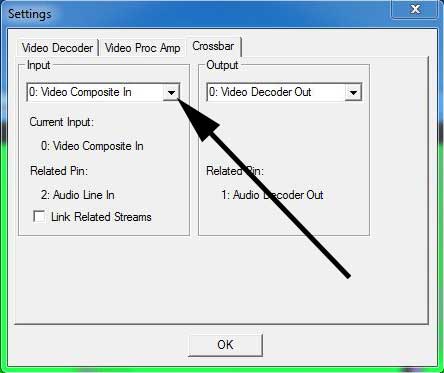
USB-Live2 Videos
How to setup USB-Live2 in WinTV v10
Click to play video
Hauppauge Capture and USB-Live2
Click to play video
USB-Live2 with OBS for streaming and recording
Click to play video
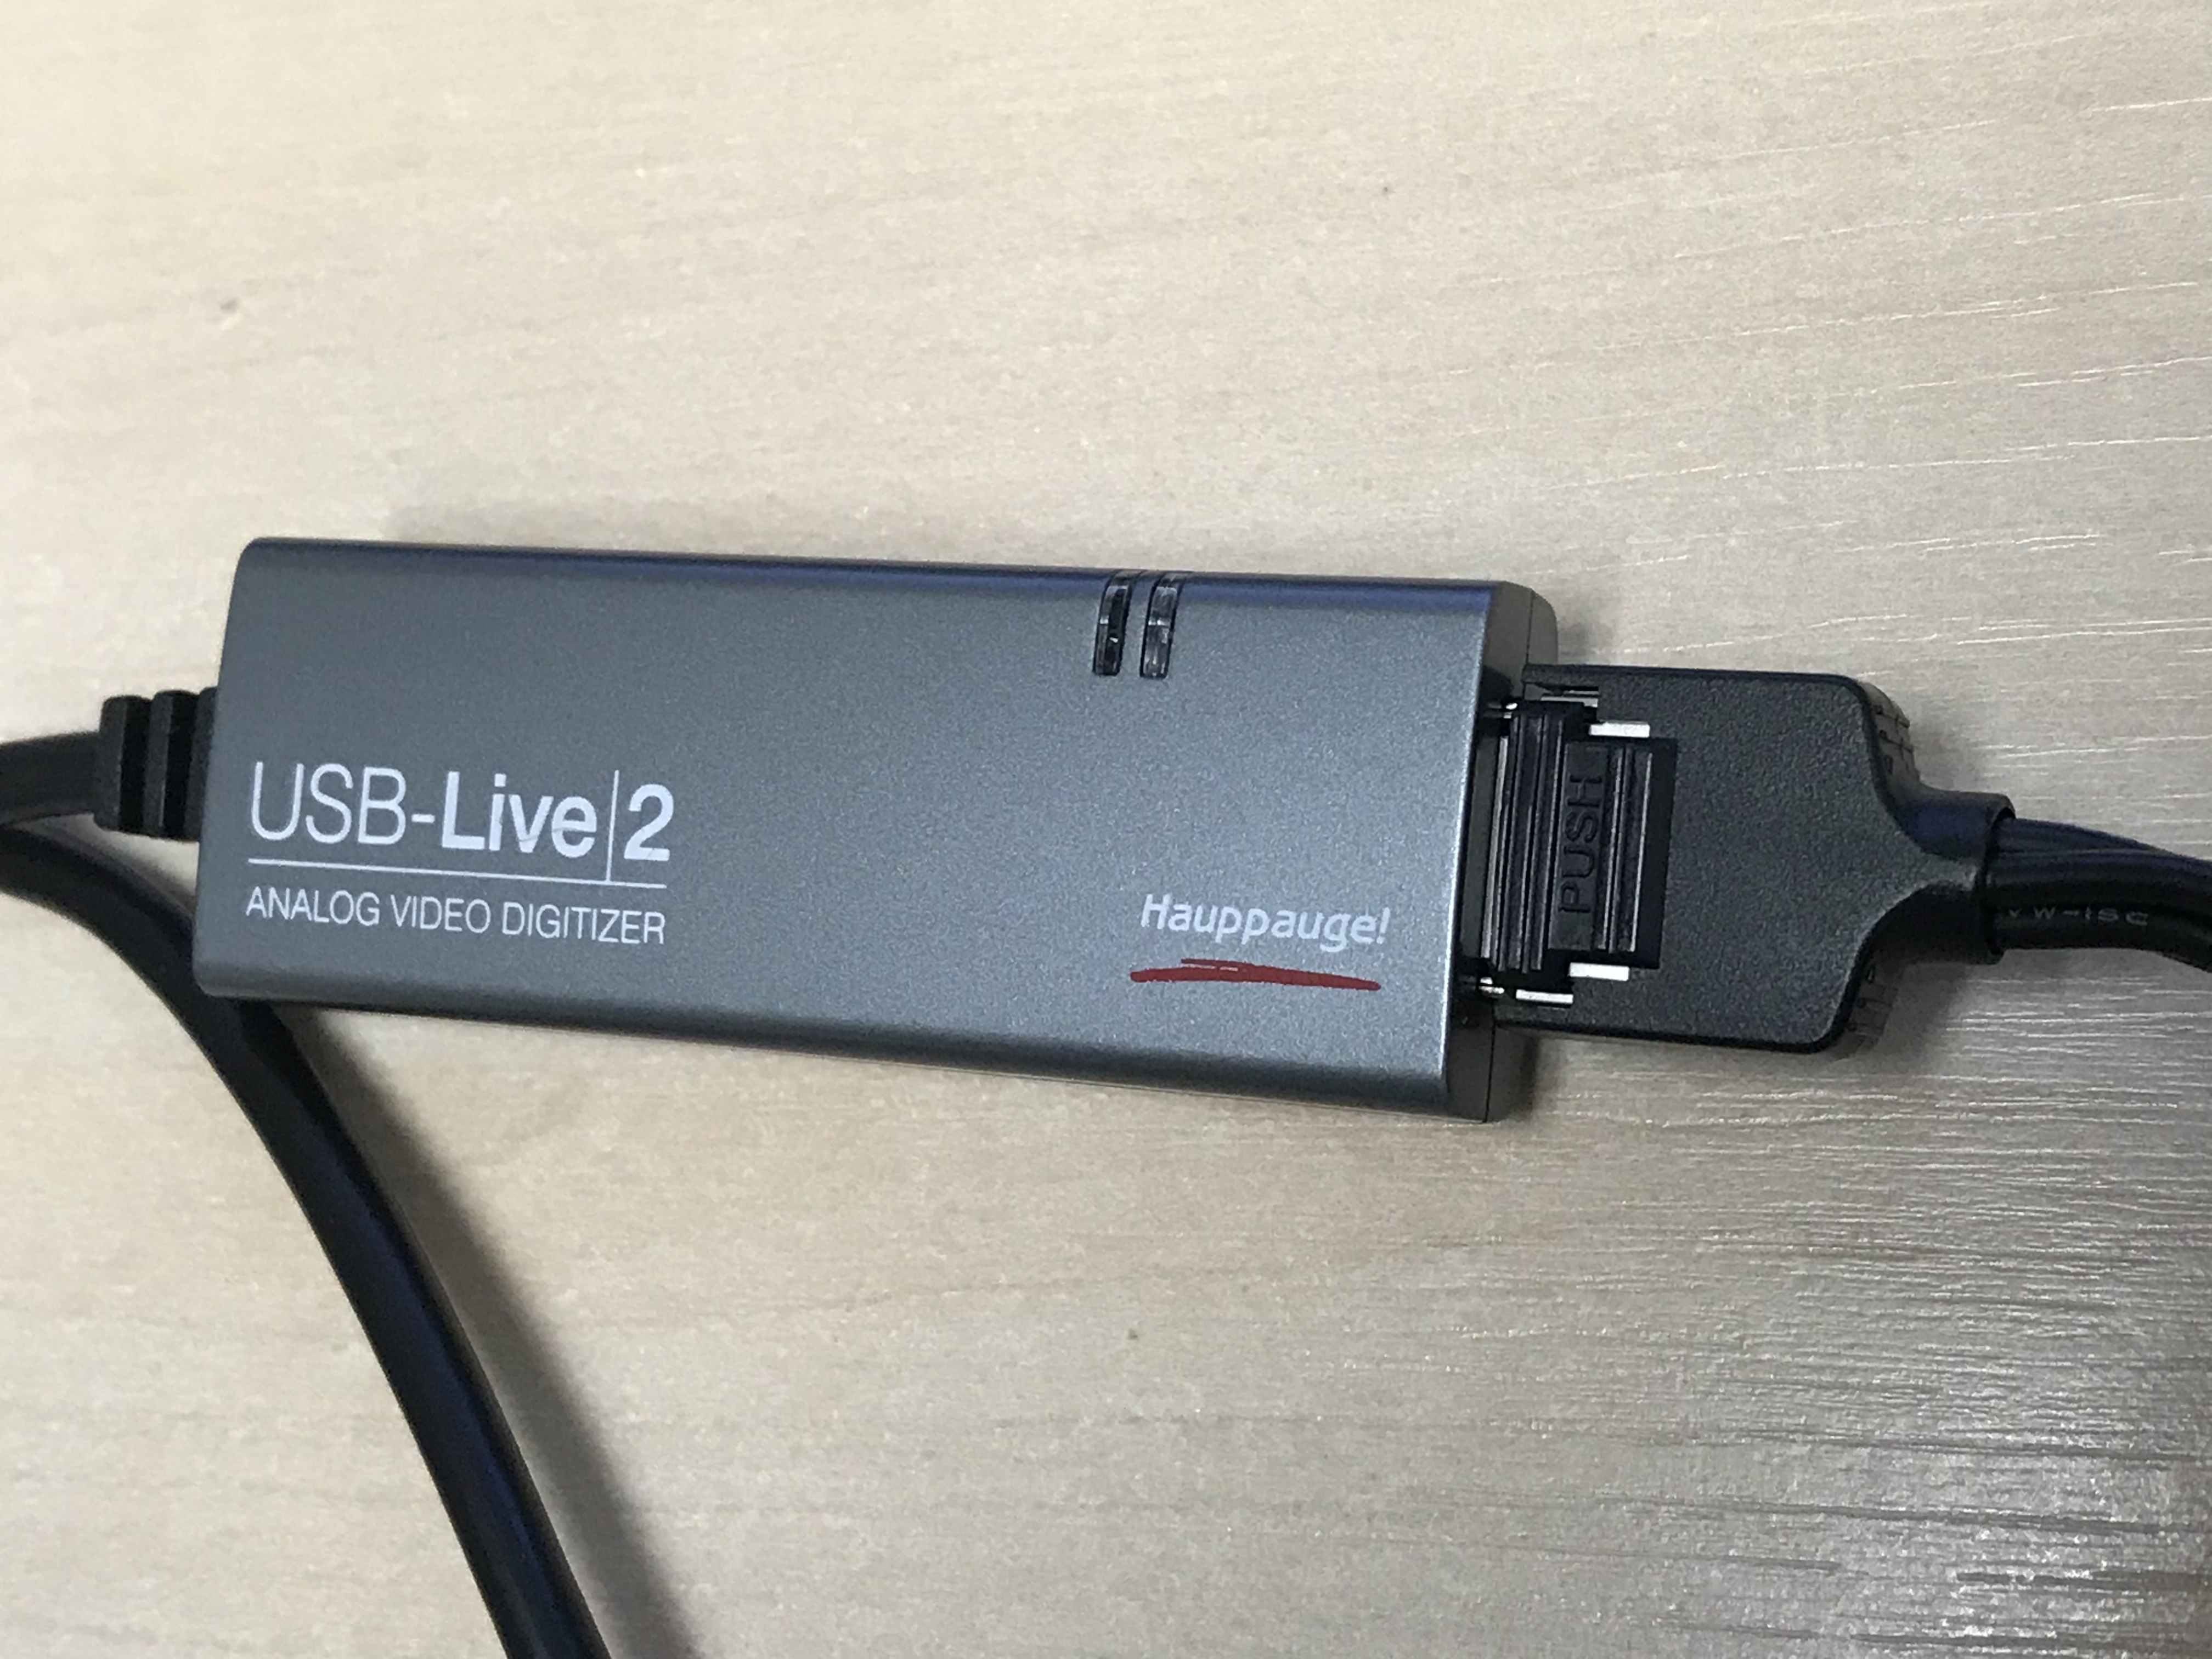
USB-Live2 Gallery
Prodinfo: get information on your Hauppauge TV tuner
Prodinfo.exe is a program you can run which will extract information about the WinTV product you have installed such as model and serial number, MAC address, revision, and features which can be used to identify the exact model of your product. The driver for the device must be installed in order to run Prodinfo.exe
HCWClear: remove the Hauppauge driver and applications from your PC
HCWCLEAR.exe is a program you run to remove all driver and files that were installed with the installation of the WinTV program.